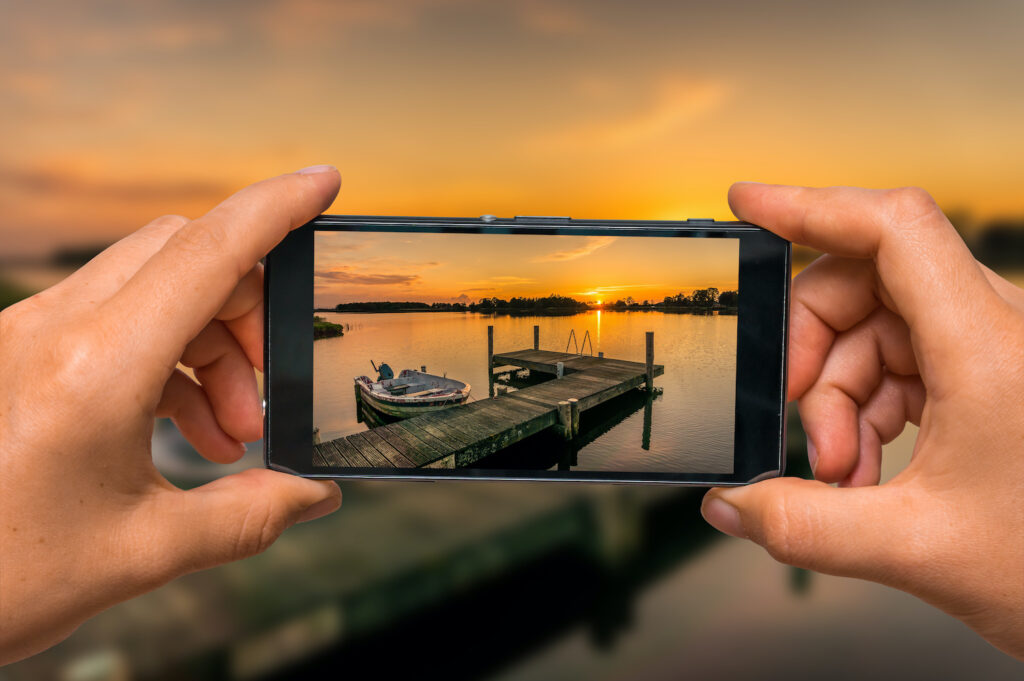
Adobe Stock Photo
Five tips for taking photos you’ll be proud to share.
by Ryerson Clark, republished courtesy of BoatUS Magazine, with introduction by Nathan Bechtold
A day on Lake of the Ozarks is worth photographing. But whether your photos are worth looking at is a whole different story! Here are five “hacks” for snapping excellent boating photos with your smartphone.
1. Use light and mood to set the scene.
The most important element of any photo is the quality of light falling on the subject. Time of day and atmospheric conditions play a big part. Think of light as the personality of the photo. Smartphone cameras give best results in daylight.

Golden hour, photo by Nathan Bachtold
Sunrise and sunset, called the “golden hour,” will produce warm golden tones that give the viewer a warm feeling. Shortly before sunrise and after the sun sets are called the “blue hour,” giving you cool blue tones and less contrast that may better suit your subject. Fog brings soft light and mystery.

Blue hour, photo by Nathan Bechtold
If the day is sunny and you photograph midday, the colors will be more natural but the lighting harsher. Full sun can work well for seascapes because of the high-contrast lighting and definition it provides. With some exceptions, this time of day is usually not flattering for portraits as you can get harsh shadows. That said, more advanced photographers might utilize this shadowing to create additional form and depth in the photograph. (See below for more tips on photographing in challenging conditions boaters often face.)
2. Think before you take the photo.
After light quality, consider composition. A few basics will generally cover most situations. Is there too much in the picture? Can you improve the composition? Does it tell a story?
Our eyes unconsciously scan a photograph from left to right and top to bottom, just as we read a page in a book. Viewers tend to feel more comfortable seeing objects or people in particular areas in a photo. These are called points of impact, and there are four of them.
Visualize a tic-tac-toe grid of overlapping horizontal and vertical lines that divide the screen into nine even sections. (Most Apple and some Android phones give you the option to show this grid overlay on your screen. To turn it on in your iPhone Camera app, go to Settings>Camera>Grid and tap/swipe. On Samsung phones, open the camera app>Settings>Grid lines.) These points of impact are generally places that “feel” natural for important things to be. (below for an example.) But like many photography “rules,” it’s a good general guideline but not absolute.
One of the biggest mistakes we make, and our natural tendency, is to place the subject in the center of the photo. In general, an image tends to have greater impact if the subject isn’t centered. An exception might be a closeup that fills the screen.
For seascapes that show the horizon, avoid placing the horizon halfway between the top and bottom of the frame, or dead center. Here you now have an interesting choice: If the sky is more dramatic than the water, put the horizon near the bottom third of the frame to show more sky. Placing the horizon near the top third might be the better choice if the water has more visual impact, such as family fun or interesting features. For seascapes and boats on the water, keep the horizon line straight so it doesn’t dip to one side of the frame. But again, there are artistic exceptions to this.

Horizon in the bottom third, photo by Nathan Bechtold
There are three things that draw the viewer’s eye: large, bright objects; faces; and printed words, such as signs. If one of these is your subject, no problem. But if not, it will distract. If the distraction can’t be removed, try changing the angle or moving your subject. Or, if you can do so safely, don’t be shy to get closer. Pay particular attention to the edges of the screen for unwanted things that can creep in (a person’s arm or that soda can on the counter) and draw your eye away from the subject. You can sometimes crop them out later (see tip No. 4), but it’s less work to avoid them in your composition.
Finally, instead of always shooting at your eye level, try shooting from lower or higher angles to create more interesting photos.
3. Take control of your camera.

Adobe stock photo
There’s more to this story! Click to create a free account or sign in keep reading.